Simple Side Table DIY
 I'm in the process of working on a redecorating project with a pretty small budget, so I'm taking an opportunity to get my hands on some practice building furniture from scratch. I usually refurbish or add to existing pieces of furniture, but I've rarely built a piece from the ground up, so building this little side table taught me a little somethin somethin. Here's a synopsis of how it all went down...
(Side note: I'm in no way, shape, or form an expert on building furniture, and I'm sure that there are more efficient methods than mine. I just do what works for my limited budget, resources, and know-how. Hopefully I teach somebody how NOT to make the same mistakes I make!)
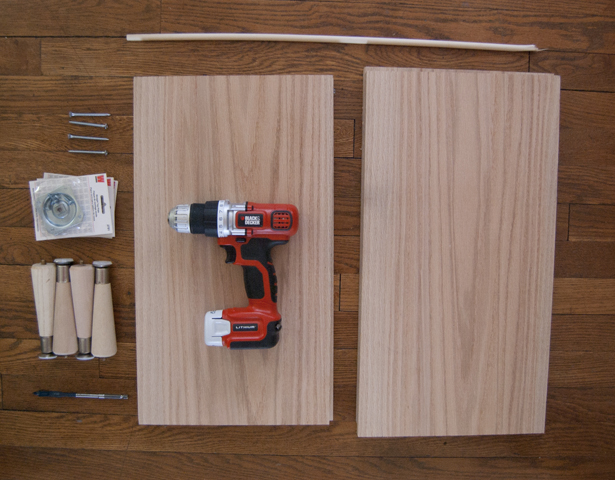
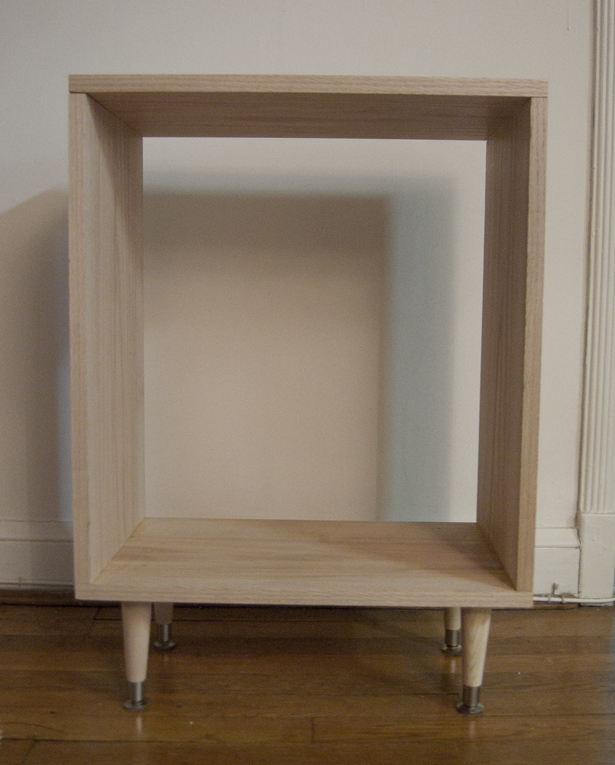
To start things off, I took a trip to Home Depot to get some hardwood Red Oak trimmed down to size. I got two boards trimmed to 20" for the top and bottom of the table, and two boards trimmed to 21" for the sides (all boards are a foot wide). I also grabbed four 6" tapered legs and four leg top plates to eventually mount the legs to the bottom of the table (legs and plates bought from a local True Value). I wanted the final product to be 27" tall, which is why I got 21" boards for the sides, but it turned out to be a little taller with the thickness of the horizontal pieces included.
All it took to build the frame was a handful of screws and wood glue, but this is where I ran into a bit of a problem. I didn't want to apply screws to connect the top of the table to the sides, because I didn't want them to be visible from the top. I ended up using only wood glue to adhere the top, and it seems to be extremely strong, so maybe that's enough?
My initial intention was to have the table be completely open in the middle, with no shelf built into the center. After getting to this point, though, we thought it looked a little weird without it, so I went ahead and got another piece of wood cut down to 18.5 inches to fit. I mounted these brackets so that the shelf would sit directly in the center.
After letting the glue dry , I sanded everything down and applied the stain. I had to apply 4-5 coats to get the color that I wanted. I ran into an issue where the stain wouldn't soak in to areas of the wood that I neglected to wipe completely clean of glue, so I had to go over certain spots with tons of extra stain to match. Lesson learned! After a couple of coats of polyurethane, it was good to go.
I'll be showing where this guy will end up once the room is complete!


